Introduction

My name is Ysabel Hudson Searle (candidate number 0331) and this is my Media Studies coursework blog, featuring my ongoing work. I am in Group 2, along with Harry Kettenis (0390), Matthew Romo (1660) and Joshua Stevens (0796). This is the link to our live facebook page: Group 2's Facebook Page.
You can use the labels down the side to navigate your way through my blog.
Thank you!

Music Video

Our Music Video:

Group 2 Website

Our Website - Click to enter.


Our Album Digipak

Our Album Digipak
Our Album Digipak

Thursday 18 December 2014

Grading our Music Video

Below is a version of our entire finished music video, with the ungraded half of the shot on the right, and the graded shot on the left:
 
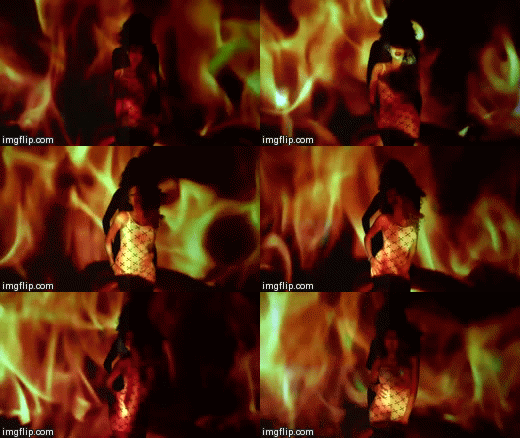
As you can see, many shots were heavily graded, like the wet look shot and the silhouette shot, and many were only tweaked, like the club scene and the fire shots.

Black & White:
Graded                                Ungraded 


This was used to make the back shot black and white - more artistic and dramatic, fitting the whole concept. This was a preset already in Premiere Pro, and simply had to be applied to the footage.


ProcAmp and the Colour Corrector:
                     
ProcAmp and the Colour Corrector                              

This was used widely across our shots, as it allowed us to adjust colours and the brightness and contrast of shots, which often needed to be tweaked. This can be exemplified most prominently in these shots:

Graded                   Ungraded


The rose shot needed to be brightened slightly, and have a less orange, less saturated look. This shot was meant to show Roza's cold, bitter side, and so we wanted a cold feel to the shot, hence de-saturating it and making it a cooler tone.


Graded                    Ungraded


 The wet look shot needed a less red tint, making the background look whiter. My skin also needed to be brighter, which would enhance the 'wet look' as higher contrast would make the water stand out more.


Graded                           Ungraded
The dance shot was to be in black and white, but we found that actually using ProcAmp to desaturate the image worked better than the black and white effect available on Premiere Pro.


Graded                            Ungraded


The fire poi shot was quite grainy, and so we used procAmp to turn the contrast up and the brightness down, making the grain less visible, and enhancing the visual effect of this shot. We wanted this shot to be very shit, with the fire and glimpse of Olivia being lit by the fire showing.


Luma Corrector:
ProCamp, Luma Corrector & Colour Corrector used on the fire shots

The Luma Corrector was very useful when it came to grading the fire shots. We wanted to preserve the vibrancy of the shot, really ensuring none of it was lost, whilst having to brighten the image - as it was a pretty dark image. The image above, showing the Luma corrector, along with ProcAmp and Colour Corrector were the exact effects we used post-production.
Graded                          Ungraded


Colour Finesse:
Graded                        Ungraded 
This was used on the silhouette shots, which needed special attention. We wanted balance the light and dark tones, making the shot more contrasted and darker, without losing the artist to shadows. Colour Finesse had much more precise adjustments, so that we could grade in a more effective way. All other alternatives didn't give us the precision that Colour Finesse did.


Removing Grain

Our original shot in Trafalgar Square, due to the darkness on the location, was very grainy, something which we didn't want in our footage for this particular shot. We had to remove the grain in After Effects to get a clearer image:
Removing the grain in After Effects
Bad Memory Style Grading
For the bad memory style grading of the argument scenes, we had to use a number of effects on the footage. 
Graded                                        Ungraded
Firstly, we put a vignette over the footage to make it darker around the edges:
The vignettes on the footage on our timeline
I then experimented with adjusting the colour, to make it more of a desaturated grey tone using ProcAmp. I then also added a grainy effect to it by using the 'noise' and 'dust & scratches' tools: 


No comments:

Post a Comment